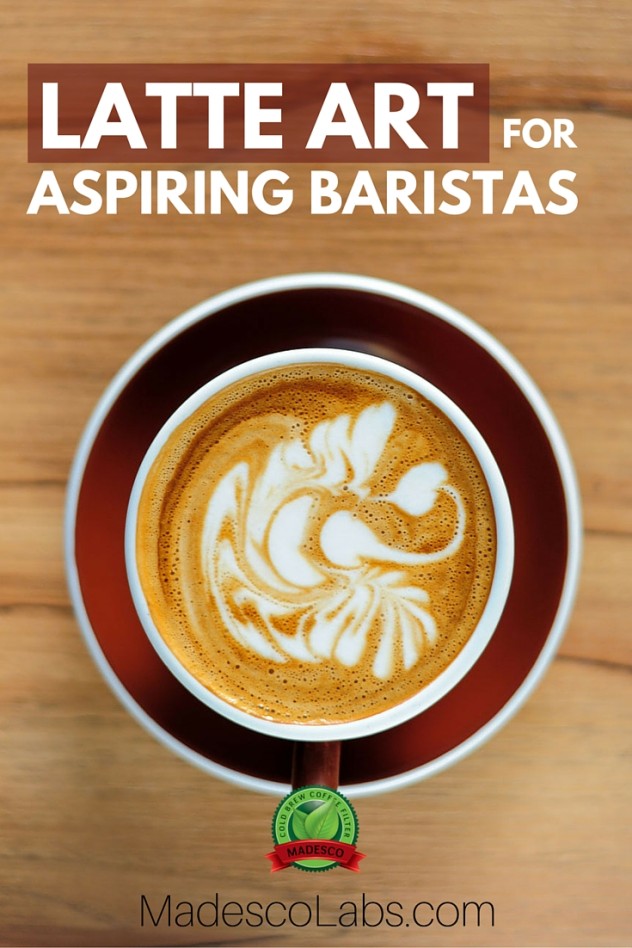
Latte Art for the Aspiring Barista
Have you ever marveled how the barista at your favorite coffee shop can whip up the most delicious latte with your shape of choice? How do they make it look so easy?
There comes a day when you feel artsy and want to “Michelangelo” your latte. If you’re an aspiring DIY home barista, this is how you get started!
Be Calm: It’s Only Latte Art
First things first – latte art isn’t just any art; it’s virtuosity on a brewed beverage and even the pros get a little shaky before they master the art-form. Give yourself a break and don’t sweat it if your attempted frothy heart resembles a turnip. In fact, plan on some initial mistakes – that’s part of the learning process. You’ll soon be dazzling your friends as you transform their caffeinated creations into conversation pieces. The key is to stick to it until you “tease out” the heart hidden in the foam.
What You’ll Need
- A regular cup
- A medium sized pitcher
- Skimmed milk
- Prepared crema
- Creativity
Getting Started with Latte Art
It’s easy as 1-2-3. Literally!
- Fill a cup with the ready-to-go crema.
- Prepare a pitcher of skimmed milk.
- Feel like an artist and get inspired by our Coffee Art Pinterest Board.
Follow Madesco Coffee Inc.’s board Coffee Art on Pinterest.
Get in the Groove of Latte Art
- Use your dominant hand to hold the pitcher while using the other hand to hold the cup.
- Tilt the cup towards the pitcher; this facilitates you to pour milk from the pitcher, with negligible hand movement.
- Bring down the pitcher close to the cup – a distance of 1 inch, between both the pitcher and cup.
- Simply pour in the milk, begin from the center of your canvas (center of the crema). Be confident, slow, and steady..
- Start moving the flow from the center to the bottom-end, and gradually increase the pouring speed, by tipping the pitcher with your thumb; a gentle thumb pressure is the magic trick.
- Design: this is a tricky part. Each design requires a barista to move the pitcher in a specific motion; however, you may want to start with the basic zigzag action. This zigzag action is done as the milk is poured from the center to the bottom.
Advanced Latte Art
Now that you know the basics of creating latte art, it’s time to learn the right way to practice.
Latte art is all about coordination. Though the pouring process takes only a few seconds, within this short period the barista deals with multiple elements:
- The pouring speed
- Tilting pressure
- Designing movements
- Beginning and ending spots
- The right distance to maintain
With practice, you’ll learn how to gauge each latte art element. Have fun! Experiment! Once you’ve mastered a skill, add another. In a couple week’s you’ll be making “signature pieces.”
You go, artista gráfico!


